I’m really struggling this week, because I’m challenging to get involved in new areas and learn a lot of new technologies, such as unfolding UV and painting the texture with PS.
Part 1 UV and Material
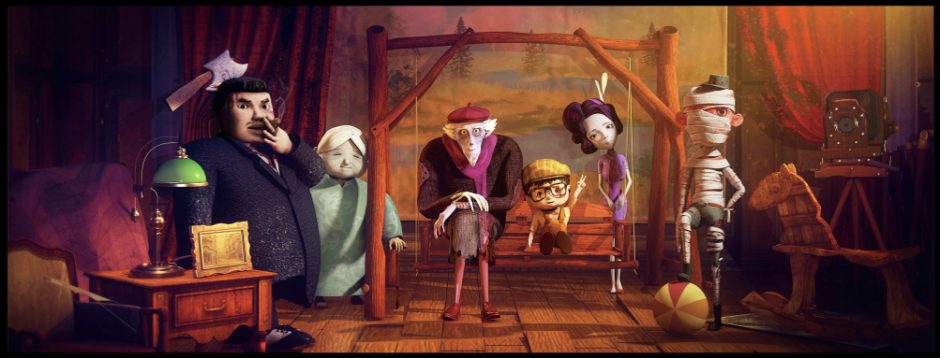
Character1
The first thing is that I expanded the UV of my first model and changed some models. I recorded a short period of my model exhibition process. I haven’t found a suitable screen recording software, because the QuickTime I use now can record the screen, but it’s not stuck, but the exported video is really big, I need to use PR processing to watch it.
After continuing last week’s work, this week I will re unfold the UV of shirts, waistcoats, shoes and hair.
And I also searched for some information in this process, because I had forgotten the correct UV shape of clothes and pants.
My steps are to map the planar first, then select a circle of lines, then cut them open, select a whole object, that is, the shell command, and then use the unfold function in the UV editor. Sometimes I find that the edges can’t connect when I cut them. I use sew to connect the edge lines.
After the last one-on-one, Luke said he wanted me to spend more time on materials.
So I added the lattice texture of the sleeves.
I have readjusted the UV and bump of the vest, because I found that if the bump value is too high and the texture of the material is too dense, the character will look dense on the clothes. It’s better to show the texture clearly, even if it may not match the real character, but if it is put on the cartoon character, the effect is better.
I also made two changes to my face.
One is in line with his character, I gave him increased broken eyebrows. This is Kay’s opinion to me. She thinks it’s cooler, and I think it’s very good.
Also, I changed the material of the original eyes, in order to make his eyes look more divine. The black one is a little stiff.
Some adjustments to the face map also increase the texture of the skin.
Then I adjusted my shoes and shoes. The recording screen of the process.
Then there’s the shoes and the hair. Because I thought maybe I would texture my hair and shoes later.
I also added the high gloss of leather shoes and the leather texture of gloves.
I have painted some texture and color gradation of black hair and white highlights.
After the first model, I feel that sub UV is not a particularly difficult thing. The main thing is the process of drawing maps, which makes me feel that I have mastered a skill if I haven’t painted maps before. I used to rely on online materials, but now I will add some hand-painted parts.
Character2
Then I started to draw UV and map. It’s basically the texture of hair, gloves, face and skirt. I drew some textures myself, and also found some fabrics and concave convex materials from the Internet.
In addition, I modified Todd’s hair and added some lines.
I used three pieces of skirt, one is nylon material, pasted with a small flash, and a circle of lace.
According to the UV shape put together after the map.
I still painted some smoky makeup on my face, hoping to create an evil feeling.
I gave half of the rubber texture to the glove, and a texture and bump to it.
In the part of hair, I drew some texture of hair. Because the layer of hair is very weak just because of the patch, so I used several colors of different shades to highlight the feeling of a trace of hair.
After the first role, I am familiar with the mapping of my second role, and I am used to painting materials with PS, but Substance Painter is also a good software. Although I didn’t use it this time, I will still study the mapping software when I have time
Final rendering