Outline
- Scene
- Lighting (Emission Effect)
- Conclusion
Part1 Scene
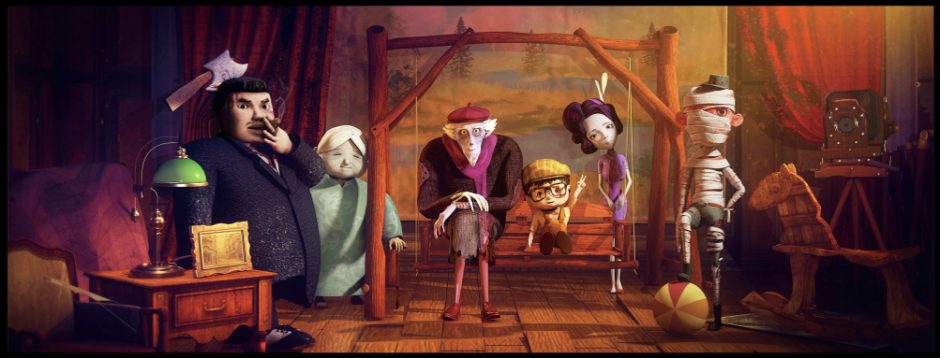
As for the scene, I can’t separate a part of the face into a separate object like the character, and turn them into mesh light, because it takes too much time, so in order to make the model look self luminous, I can only adjust the material.
I found some models on the Internet, but due to the incompatibility of the software, the mapping path was lost. Then I learned how to deal with the self illumination of the model and the properties of the material, and then adjusted the values of the mapping and the properties.
Object1 — aistandardsurface
There are several very important options in the aistandardsurface material:
- base — color
- base — metalness
- specular — roughness
- emission — color
Emission gives the appearance that the material is emitting incandescent light.
materials
render comparison

color mentalness roughness
https://docs.arnoldrenderer.com/display/A5AFMUG/Base
Object2 — lambert
There are several very important options in the lambert material:
- common material attributes — color
- common material attributes — incandescence
- specular — bump mapping
Incandescence
The color and brightness of light that a material appears to be emitting. (Incandescent objects do not illuminate other objects.) For example, to simulate lava, use a bright red Incandescence. The default color value is 0 (black).
Bump Mapping
Makes the surface appear rough or bumpy by altering surface normals (during rendering) according to the intensity of the pixels in the bump map texture. A bump map does not actually alter the surface. A silhouette of the surface appears smooth.
materials
render comparison
color incandescence bump mapping
Object3 — Transparent luminous material
- aistandardsurface — glass
- emission — color
- arnold — opaque
materials
When the light is not bright enough, I will increase the exposure value and add color in the color balance below the map
render comparison
glass color emission
Part2 Lighting
Problems
In the process of rendering, there is a lot of noise, and the rendering speed is very slow.
Remove noise (resources)
The first step in removing noise from your renders is to identify where it is coming from. Noise can be caused by:
- Motion Blur
- Depth Of Field
- Diffuse
- Specular
- Shadow
- Indirect Specular
- Transmission
- SSS
- Atmospheric Volume
Noise nearly always comes from insufficient sampling, but increasing sampling for the wrong rays can make the render times increase without helping to remove the noise. As an artist is usually working to a render time limit or amount of rays the aim is to allocate those rays as effectively as possible to minimize the noise in the most efficient manner. So if the Camera (AA) samples have to be increased to remove DOF noise, the other settings must be lowered to keep render times manageable. However, if DOF or motion blur is not a concern, then increasing Camera (AA) samples would fix all noise elsewhere but would also slow render times from the unnecessary rays.
Transmission noise is noticeable in the blurred refraction of a transparent object when specular_roughness > 0. The easiest way to confirm this is to check the transmission AOV. Another method is to set transmission samples to 0 which will remove blurred refractions. If the noise disappears, then it is created by transmission.
Noise in the direct specular and shadow is caused by a lack of light samples. Normally a small number of samples will be required to remove direct specular noise, but more samples may be required to remove shadow noise. The larger the radius a light source has, the softer the shadows will be, and therefore more samples will be required to remove shadow noise.
https://docs.arnoldrenderer.com/display/A5AFMUG/Removing+Noise
Solution
- render setting — camera & diffuse
- light — sample
This method can reduce the noise after rendering, but the rendering time is longer, but it can ensure a certain quality of the picture.
Rendering
Part3 Conclusion
This week, I really learned a lot about the more practical knowledge of Maya materials and lighting. Because I didn’t involve the relevant styles before, I always adjusted the values according to my own habits. This time, I checked the experience of some netizens and the explanation of these properties on Maya’s official website, It can be said that we can understand the reasons for these values, and no longer adjust them by feeling.
I started to like the process of adjusting materials and painting maps, because compared with the second semester, I didn’t spend much time on the material adjustment. When the lens was close, there were some maps that were not fine. I hope this experience can be applied to my personal projects later.