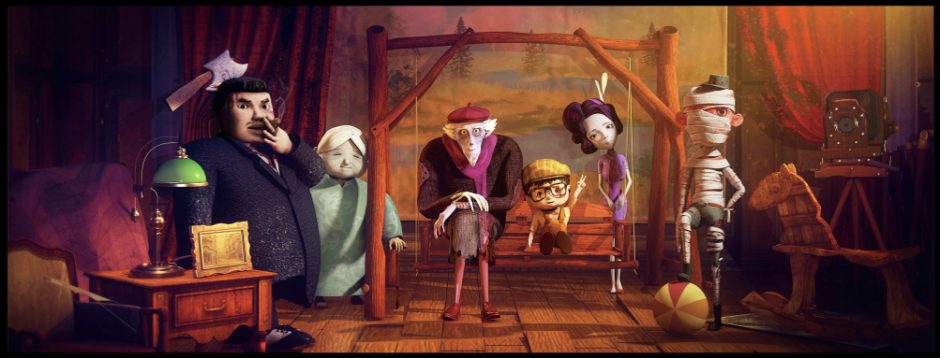
Today I learned a simpler binding pattern, also for layout, which is also a sliced binding.
Steps:
1 . Construct the skeleton, aligning the position, noting that the arms and legs can only have one direction of rotation and one direction of displacement.
2 . Mirror the skeleton and build ADV
3 . Adjust the shape of the controller for easier selection by the animator. Keep the arms fk and the legs ik.
4 . Slicing. There are two ways of slicing, the first is to select the plug-in – cut plane.
First select an object, click on create, a slice will appear in the centre of the world, then by rotating and shifting, click on cut at the point where you want to cut, the object will then be cut along the line.
The slicing will give a straight line to the cut area, so a section like a chest would be suitable. The slicing of the character follows the structure, firstly adding slices at each of the small nodes from the crotch to the chest, and merging the objects between each of the two bone points, that is, merging the clothes, parts and body between them. This method is used for shoulders, chest, arms and legs.
Another way is to cut according to the structure, which is more suitable for fingers and toes. First select a circle of structural lines, hold down shift and slide down the left mouse button, there is a detach components command. After cutting, select the object and execute the seperate command and the object is divided into two parts. This is suitable for objects with structural lines that are not simply cut in two planes.
The slices are not scoped according to their size, they are equivalent to an infinitely extended tangent line, independent of the size of the slice, only of the position and angle.
Finished slices
5 .Select the node to be skinned, then select the object and execute a rename and bind code. Note that before this step make sure that all objects have been merged and that all parts of the same bone point that should be controlled are merged, body or clothes or accessories. The position of all the bone points and controls can be readjusted up to this point. Use Toggle Fit/ADV to adjust the new position and rebuild ADV, waiting for it to run while you rebuild, otherwise it may get stuck.
Finally the outline view of the file is organized, the objects are placed in the middle, the bones are hidden and the eye controllers for the objects are made. Finally, lock all the properties of the object except for the visible. Upload to work pipeline.

