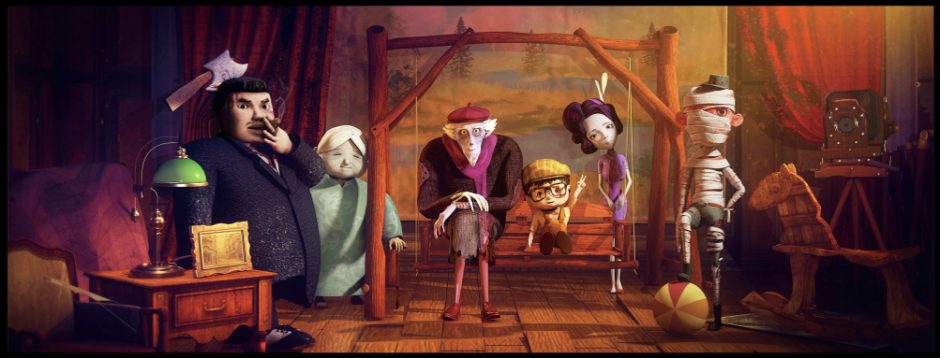
This is a prop binding, a new area but my superiors told me to do it independently, unlike the role the weight of this object needs to think about exactly where it can move and how it should move.
This did not take a lot of my time, but I think a long time.
First create the locators on the two sticks of the stretcher. one in the middle and two in each of the two sections. Then mirror the left and right and name them.
The controllers on the two sticks need to be P’d to the middle bone point. The present effect can then be achieved. Similarly the left and right controllers and bones have to be mirrored. These are the usual operations now.
The panels between need to be created as a panel and then copied through the weights. Create 5 locators in the middle.
The weights on both sides need to be painted like this. That is the two sticks are fully weighted and then the rest smooth.
Then a copy of the middle part of the object is then brushed with the weights of the 5 bone points.
The weights are automatically generated like this at the beginning.
Then I do a re-weighting of each section.
Making sure that each section is the heaviest weight at the bone point.
I added two more lines in the hope that the weights would be softer.
First I fixed the two sides, that is, I gave them all the weights.
Then divide it a little bit between the 5 sections to make the weight softer.
Then slowly go about drawing the weights.
Then give the weight of the face piece to the original object.
Finally, the weights of the two parts are combined. Use blendshape and the weights of the blendshape are the latter.
Finishing the outline view.
The final result.

