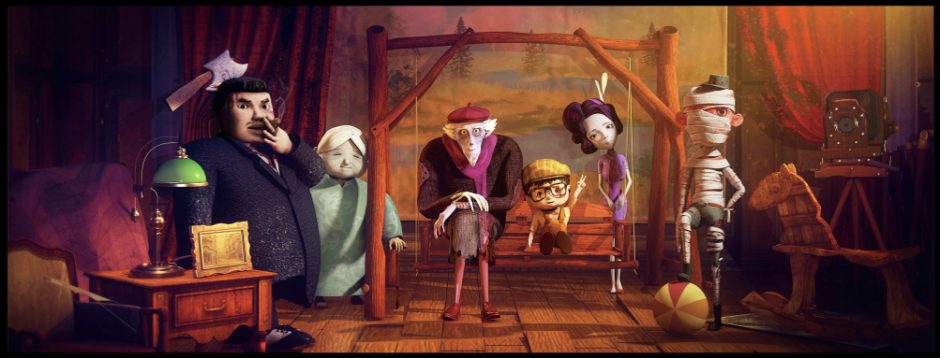
Generally speaking, this week I got a new understanding of the professional process of the animation industry by familiarizing myself with professional film production 3D characters.
Considering that I have to do my FMP and internship at the same time, I am under a lot of pressure to manage my time. My goal for this project is to combine the modeling and rigging techniques I learned during my internship to make my project character a relatively complete film and television level model. The film level here is not the complexity, but the production process. My biggest challenge and main task at the internship was to discard the modeling and binding techniques I learned during my undergraduate studies and to produce it in a professional and industrial way.
For instance, my modeling is almost my own learning, my habitual practice is to shape the shape through low precision modeling in Maya and then add layers to reach the number of faces needed for sculpting, and then use the sculpting tools to push, pull and smooth. This is not a method a company would use, but this method does allow a character to be completed in a short period of time, but it is usually not detailed enough and has limited accessibility. So for film and TV level animation characters say, they still need more details and more specialized techniques to sculpt.
The process I understand is to sculpt a simple model in Zbrush, then topology in Maya, then sculpt again, repeating several times to ensure that the character’s shape and wiring are more detailed and accurate after each revision.
On the other hand, the binding is not the same as what I learned from the tutorials. Although the general process is to establish bone points, then mask and brush weights, but the company will require more rigorous, such as locking certain properties, such as wiring must be neat or topology must be standardized, which I will mention in detail in the later blog.
These methods include what I have done before. Although it is said that both can make a certain quality of character modeling, there are actually a lot of differences in terms of presentation, or from a professional point of view, such as wiring, number of faces, and structure. I admit that at first I was very uncomfortable and didn’t even want to change my own way, but considering that I’m going to work in this area in the future, then I need to make what I do is also usable in other departments. If I make a character that doesn’t meet the requirements, the binder won’t be able to rig it accurately, which will affect a series of steps such as animations.
So I made a plan of tables to make sure that while I was learning new techniques, I would apply these to my FMP characters.
The table of the schedule
| 9.13-9.16 | Role 1 model draft |
| 9.17-9.20 | Role 1 modify + topology |
| 9.20-9.26 | Role 1 rigging |
| 9.27-9.30 | Role 2 model |
| 10.01-10.04 | Characters 1 UVand maps |
| 10.05-10.13 | Scene modeling, mapping, lighting, and rendering |
| 10.14-10.17 | Role 2 modify + topology |
| 10.18-10.22 | Role 2 rigging |
| 10.23-10.26 | Characters 2 UV and maps |
| UV10.27-11.25 | Animation + rendering |
In addition, one of my test items was to align the character’s body with the bone points, the teacher said that the bone points I made were not very accurate, they were all in an approximate position. But he asked me to align the bones every time after that to the precise position according to the human body structure, and to pay attention to ik and fk. this time to use their company in adv professional skeleton system, I learned that about the arm and leg bone point, only can have x-axis direction displacement and z-axis direction rotation, the thigh bone joint through the rotation to determine the position of the ankle, and the knee position only through the x-direction displacement. The position of the knee is changed only by displacement in the x-direction. Including the fingers, the displacement value of xyz cannot be moved at will, but the position is determined by rotation, one by one, starting from the root bone point.
Notes:
- adjust a bone point alone without affecting other bone points – keyboard D
- the bone point of the thumb should be established when it is rotated to the angle it goes

