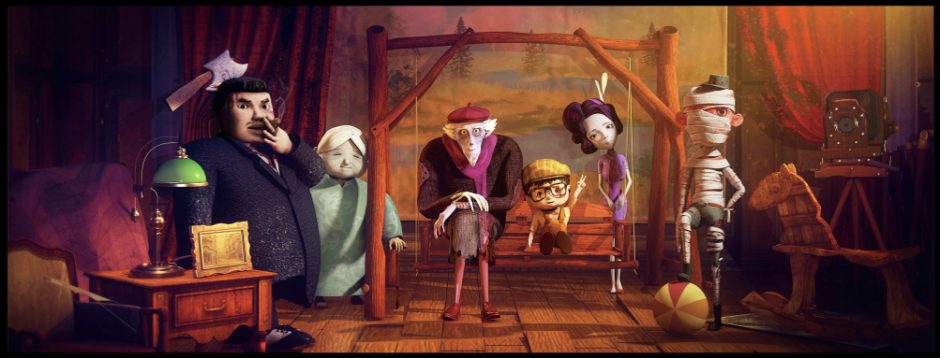
Part1 Modeling
Then I created the model according to the two-dimensional design drawing I drew. Starting from the creation of the character’s face and then the body, some details of clothes and the sense of fat flesh gradually became clear.
Process of creating

head 
body 
Accessories 
details
Close up of the model and details of each part after the first version. After breaking away from the setting, the details are adjusted according to the feeling and local exaggeration is made.
The character in this film is a fat man, which poses a lot of challenges and problems for me. Because obese people are more fleshy, both the model and the binding animation are difficult, need to make the obesity out at the same time to make the body meat can be flexible wiggle.
There is also the fact that I try to keep the mirror image principle throughout the process of making the model this time so that I only need to adjust one side. I found that to be able to mirror the model, I need to align the model to the center axis of the mesh.
Part2 Topology
Re-topology is the process of converting a high-resolution model into a smaller model that can be used for animation. This may be a difficult process, but the basic idea is to create another grid that can simplify the original HD assets.
In the past, 3D artists have spared no effort to build meshes polygon by polygon. The problem with this method is that it is very technical and difficult. Engraving is a more intuitive process that enables modelers to think and work better.
The disadvantage is that I must create many polygons to sculpt the desired curves. Too much detail can slow down even the most powerful computers. That’s the use of re-topology. By overlaying the low polygon mesh on the high polygon mesh, I can get the perfect choice that can easily realize the animation effect in animation.
With re-topology, modelers can create organic high-resolution models from the beginning using a smoother workflow than the old box modeling technology. Similarly, if we re topology the model, it becomes easier to add textures to the sculpted model. The new re topologized mesh will not have the deformation and other problems that often occur in free sculpted 3D mesh.
The main purpose of re-topology is to obtain polygon meshes that can be used for animation at a small file size. The process of sculpting with tools such as ZBrush or blender results in a high-resolution model with many unnecessary polygons.
Through re-topology, we get a more effective 3D surface, which is more suitable for painting and animation (whether in movies or video games). UV untangles low polygon models more easily than models with many polygons. For the texture and materials that make up the final model surface, a good UV unlocking effect must be obtained.
The best part is: we can use the high polygon model to texture the re-topology version! In this way, we can retain the details obtained from high-resolution work, but still generate a model that can run smoothly in animation.
Because I don’t know about Zbrush, I did re-topology several times in Maya. This standardized and rigorous re-topology form is my first exercise. Although I have done topology before, there is no such professional training. However, on the one hand, this topology can increase the details of facial features, on the other hand, it can be conducive to later binding.
The mouth can’t be just a simple “hole”. It needs to have internal structures, such as teeth and tongue, and then make the internal structure of the mouth, which plays a key role in later expression binding and mouth opening animation. The shape of the eye socket needs to wrap around the eye, also the crease of the eyelid needs to be emphasized.
https://www.bilibili.com/video/av842603892/
The method of re-topology is to first select the original I alternate to lock the surface of the object, so that the topological model will be adsorbed in the original model is, and then the quad draw command.
I looked up some information and tutorial.
Here I pay attention to several requirements. The first is the closure of the mouth, because the corners of the mouth, including the corners of the eyes, should pay attention to the formation of horizontal lines, which is more conducive to regular lines.
There is also the core of re-topology, that is, re-line processing according to the human facial structure. There are several very important points, including orbicularis oculi muscle, oral wheel acrobatics and eyebrow bone. The new facial models formed in this way are like monkeys.
https://www.3dart.it/en/face-topology-with-maya-quad-draw-tutorial/
https://3danimationcrystal.myblog.arts.ac.uk/?p=3195&preview=true
This topology was really just an experiment, because my topology process took a lot of time since I added the lines, and my key points were not accurate. My teacher told me that the position of the “five side points” is fixed because it will be used in the subsequent weighting, so the eyebrow points, the intersection of the eye socket and the orbicularis oris muscle, and the points next to the nose cannot be moved.
